
As the sun starts warming the soil and the tree buds blossom and trickle from the maples merging with fluffy seed pods twirling through the air and fluttering from the poplar trees. We are quickly activating the new growing area and getting our 6 plus yards of organic compost settled in for a new growing season. But in order to start our new raised beds I always prefer a border wall. The most cost effective way of doing this is using whats available on our land. With a heavily wooded 5+ acre lot we always have plenty of blow downs from the winter to utilize for this process. I am especially grateful to this resource when I hear the amount of money some new gardeners are spending on lumber during this time of inflated lumber prices. I will say my method does require a little bit of chainsaw skills along with the grunt work to pull the logs from the woods but other than that, it is fairly straight forward. Below is a haul of cross sections I rough cut from the woods after employing the help of a friend to haul a few 18ft sections a week or so earlier.

The other cost of beds besides chainsaw gas is these large nails that I use to tack the corners together. They typically run about $3/lb but occasionally I find them kicking around at surplus stores and buy them in bulk when I do see them there. Below you see some 8" and 6" nails and depending on the girth of the logs I am tackling these seem to work just fine.

After a few seasons of growing here at the homestead I had a good idea of the layout of the new beds based on sun exposure and lay of the land. I started with the long length wise sections and slowly plotted them out based on the available space and kept in mind to leave enough room to get myself and a wheelbarrow in between for bed maintenance as well as for harvesting and weeding purposes.


Its kind of like a jigsaw puzzle and its always good to have a few extra logs around to adjust based on slope of the land and things of that nature. Sometimes I end up with some big gaps in areas where the bend of the log and the slope of the land do not harmonize perfectly and then I will fill them with pieces of rotted logs, wedges of stone or even just a curl of bark to make sure not much of the nutrient rich soil can escape into the paths. This is part of the reason I still use logs to contain the soil, though my method has changed from stacking multiple logs to a higher height and I have now resorted to just using an edge log and mounding the compost into the middle of the bed where deep rooted crops get planted and using the thinner edges for shallow root crops.

I found the stacked log beds (front ones in the picture below) just increase the invitation to our rampant chipmunk population and also become a little more fragile after they start breaking down. My long term goal is that these original log beds will breakdown over the course of the next 20 years and the the annual mulch, compost, mulch, compost layers being heaped on in no-till fashion, season after season will establish the beds from the mulched walkways enough that they will not need to be replaced in the future.

Ok back to building new beds... it all starts with a healthy layer of cardboard to suppress any of those persnickety brambles that I have been battling with since I started gardening here. It helps to wet the cardboard with a hose especially if its windy out but also with a large area like this, its certainly not practical to keep wetting it day after day so I simply use the logs and some rocks to help keep it in place till the beds can be filled and the pathways covered in mulch. I generally will not start laying down cardboard until I know I will be ready to go with the next 24hrs so I not wasting my time rearranging after every windy day. However if the forecast has rain, I will extend that window for laying the cardboard out. Obviously when it is wet it doesn't shift around nearly as much and then I do not have to waste water wetting cardboard down. As with all things gardening, being resourceful and patient is key!

Now on to filling the beds. It starts with a good base layer of composted leaves. I have several locations where I drag my leaves year after year and use those caches when needed. This particular pile was about 2yrs old and the deeper I dug in the more decayed it was. I tend to mix some whole leaves with that moisture dense decayed underlayers to add more texture and longevity to the nutrients available in the base layer of the beds. The other great byproduct for using leaves is its ability to hold moisture which I've noticed requires less watering throughout the growing season.


I typically spread about a wheelbarrow full for every 4 square foot section. This amounts to about 4-6" of leaf material to set as a base layer for the beds. If I know there will be a deep rooted crop going in the bed, such as tomatoes or root crops, I may double up on the leaf layer to make sure I have plenty of depth to the bed but Im still learning and observing the success of this thinking. I also find it helpful to tamp down on the edges to seal up the area between the log walls and the ground, again to help retain the soil in the beds and prevent run out of nutrients as best I can. This is easily done with the back of a flathead garden rake or even just your foot.

After about 6 wheelbarrow loads I am pretty happy with the depth on this 18 x 4ft bed. You may notice I don't worry about a few sticks and pine needle bunches strewn about the leaf mulch. Someday Id like to get a shredder to break down this material even more before using it and I actually just purchased a new mower with a bag attachment this year so I am hoping maybe this fall to do some of my leaf collection via mower and to have a bit of mulched leaves from the process to use on top of the beds for winter cover. The other downside to this process especially after a heavy acorn drop is the sprouting of tree seeds in the beds. It is an added layer of work but honestly they pull easily right out and actually give a nice educational tool to teach myself and Hazel about how trees propagate.

Next up comes the black gold... OG Surf & Turf Compost from Bensons is my preferred resource and I mixed in a yard or two of our homemade compost for good measure. Its been 5 years since I purchased compost and after this year Im hoping to beef up our home system to produce enough to wait another 5 years. Adding this is similar in amounts to the leaf mulch base layer. I like to add 4-8 inches but will adjust the amount based on the crop I plan on planting there. Seeing as I was working on 4-5 new beds all at the same time and my mind was dizzy with the "what am I going to plant where?" I decided just to layer a base 4-5 inches on all of them and then add more later on the beds I decide to grow the deeper rooting veggies in.

After the compost is piled on and the new completed raised beds get settled in for a few weeks before planting starts I spread the walkway area with a natural dark mulch to help suppress weed pressure in the pathways as well.

Now its time to start planning what crops will go where, by renewing my knowledge about companion planting and also take into consideration sizing of plants and sun exposure as well. Then to decided on trellis options and extended plans for the tarped areas for next season. Wow, I feel like I have officially jumped in the deep end this season with available growing space. See below where we were at with this space just 4 years prior. In fact this picture was the tamest that area was as once we took down those two maples the spring after this pic was taken in order to increase sun exposure. That whole underbrush exploded with brambles and other persnickety under growth like honeysuckle and tree saplings intermingled with the old root system of those trees and lots of boulders. To remind you of what it took to get where we are this season, check out my previous post by continuing to scroll or click HERE!

Speaking of those maples... its probably time to trim those big ole stumps into some garden seats. A good first project for the new 20" Chainsaw as my other chainsaw is not quite large enough to tackle a stump of this size.

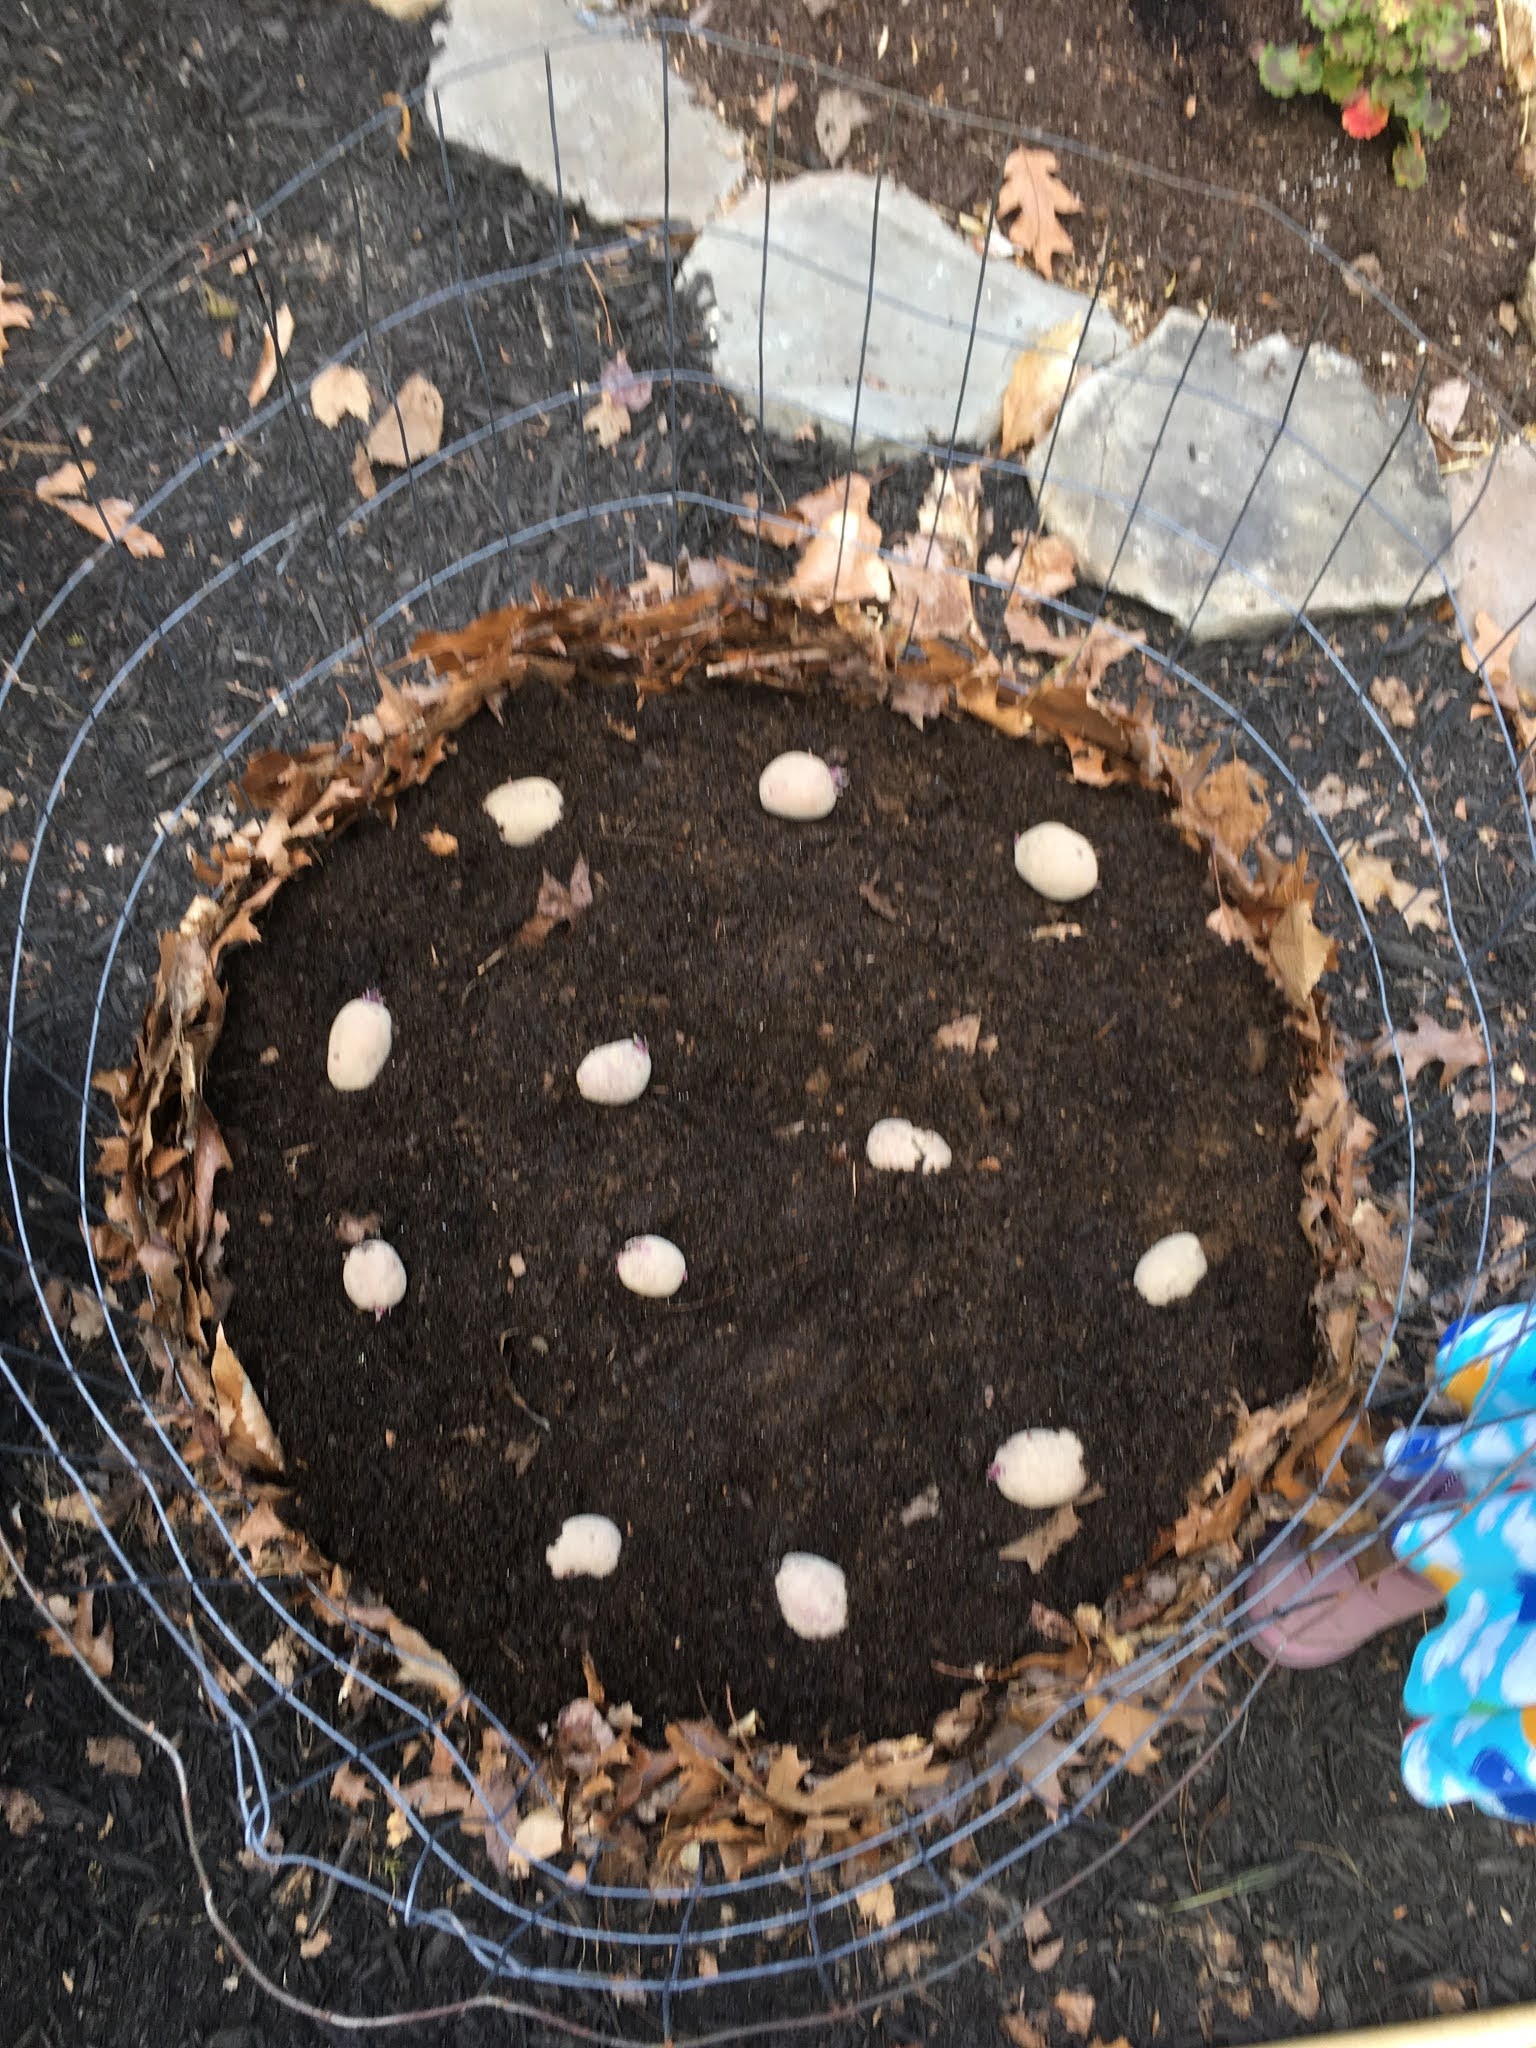
After a few days of planning the garden planting schedule and making sure our seed starts would be adequate for the expanded space I thought it was time to get our potatoes planted. When the oak leaves are as big as a squirrels ear an old time farmer once told me, and considering I build my mound above ground they are usually faster to warm up which is the main reason for holding off potato planting. Our tower worked pretty well last year but I decided to start with better seed this season than the previous last minute purchase at Blue Seal from last year. This year I went direct to the source of the best organic potato seed in Maine.
We got 4 types Adirondack Reds, All Blues, Carola and Buttes

This years method I concentrated on a larger circumference of the towers rather than tall and skinny. I'd say they are more mounds than towers. The lack of straw bales became an issue as well so after a couple days with no luck finding them I adapted the method and used composted leaves instead. All in all its a low cost approach and its always a fun project diggin' taters from the soil so I figured we would make use of some of the mulched area of the garden and see how much yield we get from these mounds.

Hazel had fun planting the different types and even a few weeks later is better at remembering which mound is which variety than I am.
Along with the taters we sowed lots of seeds directly and started transplanting our cold hardy crops like broccoli, cauliflower, cabbage, kale and brussel sprouts.

We are having chipmunk issues already, this is the third planting of peas and after realizing I wasn't having an issue with germination...but rather an issue with entitled chipmunks who claim each sprout as it emerges I decided to try some cover to help them hopefully get established enough that they won't seem like such a tender treat. I also sprinkled a touch of blood meal to boost nitrogen on our green beds and hopefully help deter the chipmunks a little more with the smell of death. We shall see how things go. I also decided while I was at it to cover up the bush beans and corn bed as they seem like they would probably create a similar scenario.

Other crop updates are that the overwintered spinach is producing enough that we are having some in our meals and using it for a garden snack.

Garlic is sizing up nicely and I'm getting excited about scapes on the horizon!

Our newly pruned and mulched blueberry patch is producing a nice set of flowers and hopefully that translates into a bountiful blueberry season.

The wild alpine strawberry patch that I propagated from around the homestead last year seems to be vigorously producing flowers but something tells me the fruit will still be tiny and the chipmunks will probably find them first.

Hazels interests in all things nature has been inspiring and heart warming. I really enjoy seeing things through her eyes and the interesting connections she makes always keeps me on my toes when we are in our daily garden work/play routine!

Just the other day she strayed from a self proclaimed "boring job" I was doing in order to explore a bit when she stumbled upon these bluets. She quickly asked if she could get her markers and art stuff to draw them and I told her I thought that was a great idea.

For the next hour she proceeded to draw numerous garden blooms and bugs with an intensity I found to be awfully inspiring!

Im so proud of her creativity and also her attention to detail. Even the light purple violets in the background are added with small marks of color.

Appreciating the beauty of the landscape and the wonders of the natural world is a lesson we can all learn from our children. I feel as an artist myself I never lost this spark but certainly have found it reignited with the presence of Hazel.
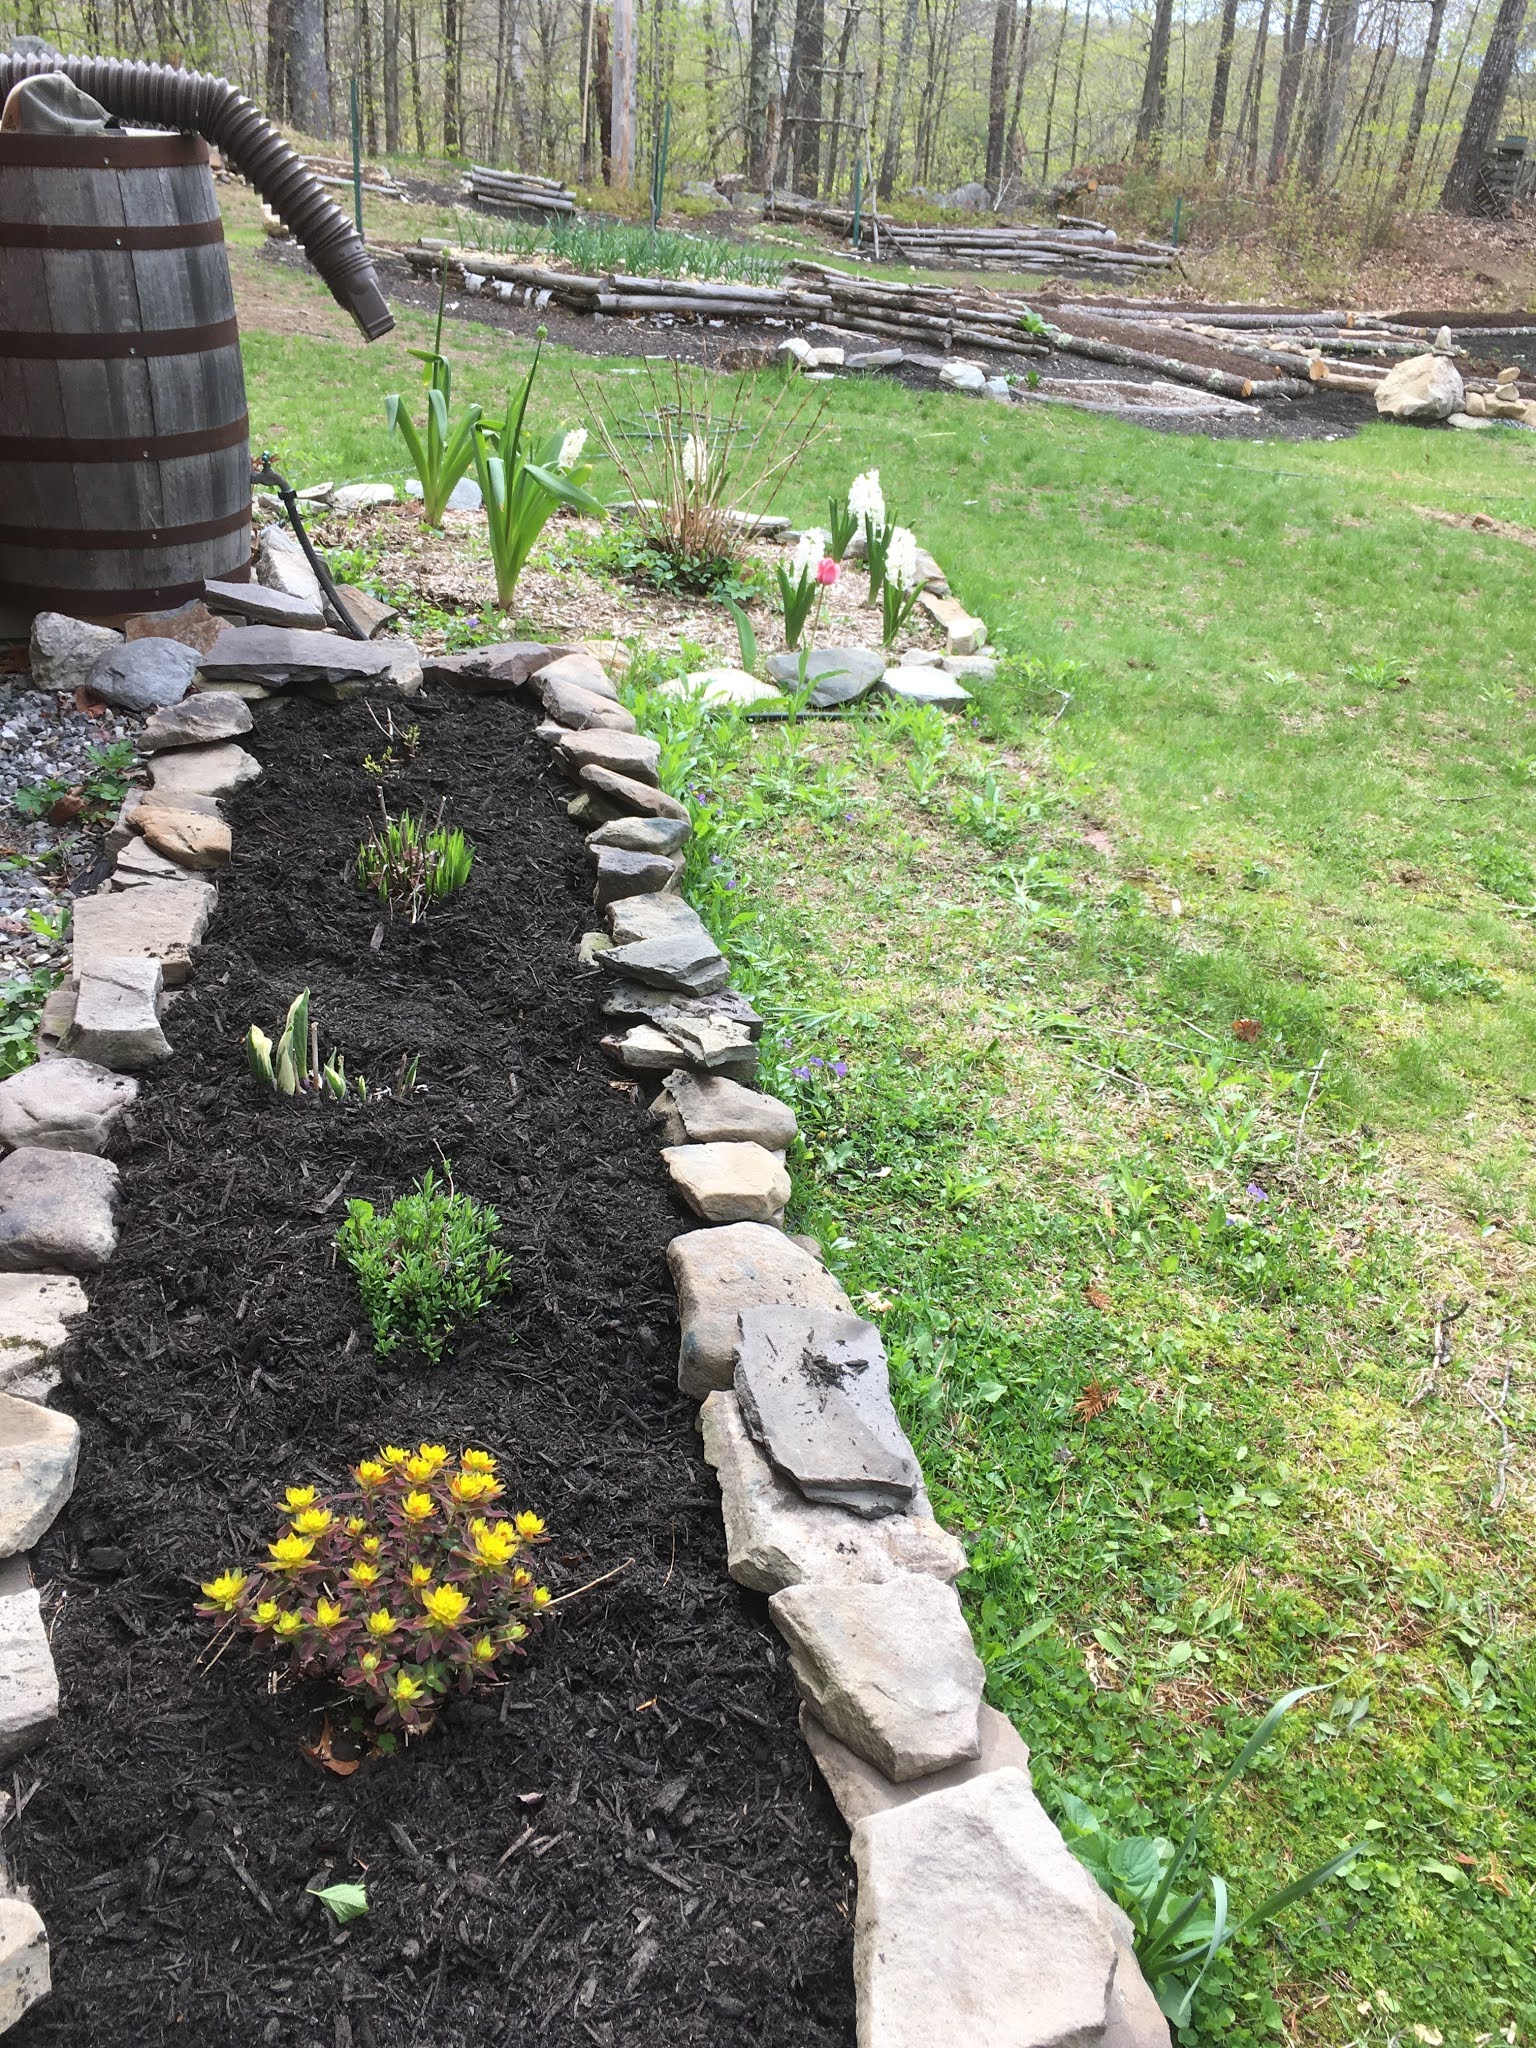
Some of the successful bulbs planted last fall.

A warm spring Saturday spent on Bradbury Mountain.

The road to the homestead shining in all the beauty of a mid spring sunset.

A recent study from the Rootcellar studio.

Beets & Grooves my monthly gig at Oxbow Beer Garden in Oxford happened... another great night to drop some choice vinyl selections. This happened in the process of trying to finish this post which sometimes takes me a few days but figured I'd share some recent LocalRootz HiFi news to keep the people up on all the happenings here at the homestead and abroad.
Stay tuned for many more dates where you can catch me bringing the Beets & Grooves!
UPCOMING DATES @ OXBOW BEER GARDEN
July 3rd Saturday 4-8pm
July 31st 4-8pm
August 28th 4-8pm
September 25th 4-8pm


No comments:
Post a Comment