Thursday, June 23, 2016

Blossoming Landscape.

Blossoming Landscape.
One aspect of the localrootz homestead that I haven't touched upon yet has to do with projects that enhance its aesthetic appeal.  Our home is a reproduction home built in the mid 1980's with some modern touches like electricity, insulation, skylights and a poured concrete basement. The overall feel of the place harkens back to colonial times and mimics the colonial cape cod style that goes back to the 17th century. In keeping with the spirit of the home we strive to improve upon the foundation the original owners/builders created using natural materials whenever possible and keeping the home and it surroundings symmetrical and simple. 


With that being said when we moved into the home it was clear that the front of the house needed a bit of subtle charm to ground the house to its landscape. It appeared there once was some bushes that probably got a little too friendly with the lower clapboards creating a problem that was remedied by removing the bushes and replacing the clapboards. 

The first part of the project was to trim back all the weeds and stray roots and lay a nice layer of blue stone drainage rock along the foundation. 

 
Because the warm weather has arrived and the weeds and root situation needed some attention I chose to lay a double layer of weedblock landscape fabric down to smother any persnickety lingering weeds and just create a pair of small rock wall flower beds to spruce up the front of the house. Before I start putting obstacles down in front of the house I figured Id take the opportunity to get a coat of red barn stain slathered on the clapboards.   


I picked out a pallet of fieldstone from a local spot and got to work laying out a 6-8" tall wall running about 12ft on each side.


To save some compost and improve drainage I pulled a rotting bale of straw that was abandoned behind the tool shed from the previous owner. 


After an afternoon of hauling rocks and compost the progress finally started becoming apparent.


Im pretty happy with the final product, though it is temporary enough that if I find Id like to alter the design it will be an adaptable base to do so with.


For this year we decided just to pick up some interesting annuals out from the local greenhouse. I also planted a row of sunflowers along the back edge of the beds but after a few sprouted the abundant chipmunk population took notice and mowed down the lot of them overnight... luckily I have a dozen or so I started in pots that I will transplant when they get large enough to ward off the little rodents.  Along with some annuals we also snuck in a couple lavender plants and a toothache plant I picked up from the Kennebec Flower Farm at the Portland Farmers Market !


The plan is after smothering everything with the weedblock below the soil this year, we will plant some small shrubs and perennials in the spring next year when I can dig down and cut through the weedblocker where I want some shrubs to root deeply into the soil.


Stay tuned for that project next spring. 

Along with the front flower beds we also planted some flowers among the vast array of perennials that we are so grateful appear with great abundance in the most unlikely spots. I think last years brutal winter held back some of these surprises during our first summer here, but this year things are looking quite vibrant and colorful ! 


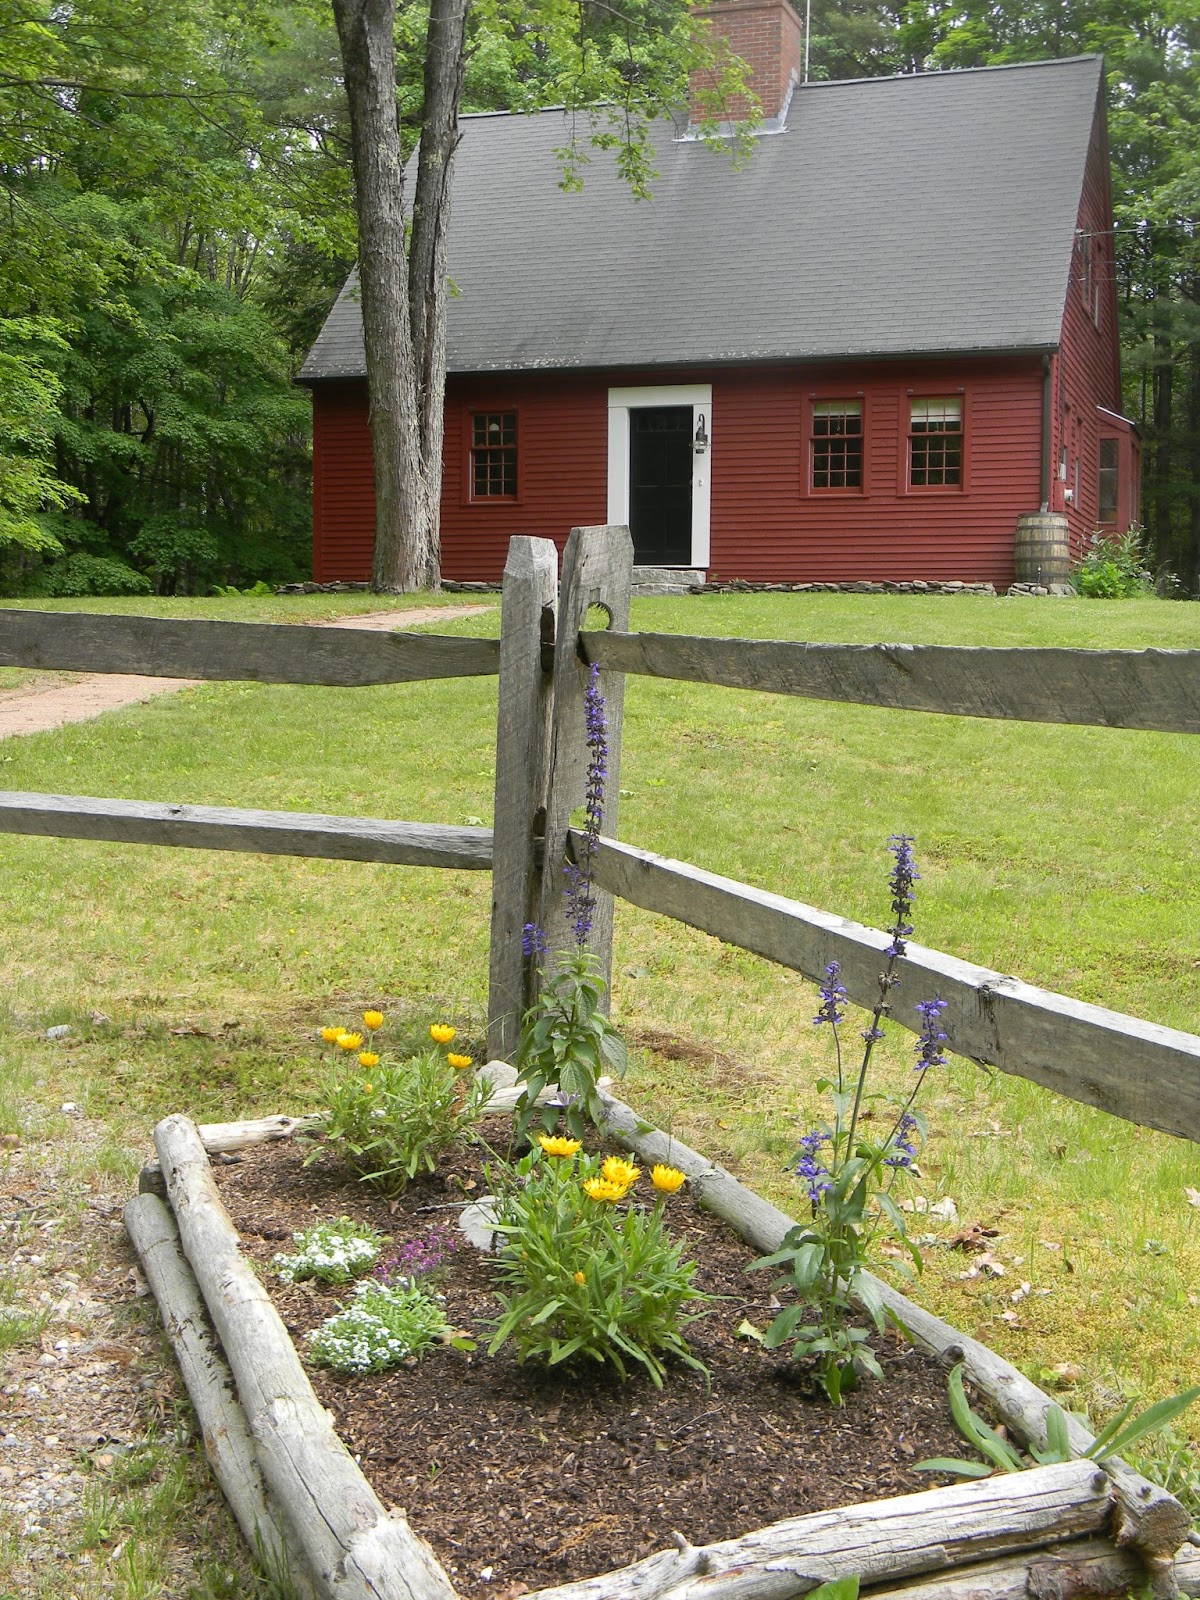
A little raised bed I constructed last fall when I was moving the last of our compost into the makeshift bin greets us in the driveway everyday we come and go.


We also put together a few hanging baskets with some cheap pots we found at Marden's.


Another landscape project we tackled this spring was rehanging the birdfeeders with a proper cable as the previous one was choking a tree that had since died and needs to be dropped before it becomes and issue. This proved to be the most time consuming project... its funny how sometimes the "simple" little projects turn into headaches with multiple trips to the hardware store and lots of trial and error with ferrul sizes and swag tools coming into play. 


Either way the birds seem to be enjoying their new feeders, as are those pesky little chipmunks who seem to always be gorging on the seeds that make their way to the ground below.


With those projects completed and the perennials popping up in every directions, I figure I will just leave you with a collection of some of our favorite blossoms, some of which I have yet to identify.


Wednesday, June 15, 2016

Raising Beds and Planting Heirlooms.

So after a long winter of contemplating what went right and what needed improvement with the first growing season at the Localrootz Homestead, a glaring issue was where to plant our tomatoes.  Last year I made the mistake with planting the 10-15 tomatoes plants in the middle bed of the the raised bed trio, using classic tomato cages and and a makeshift trellis system of wooden stakes and twine. After a few big thunderstorms it turned into such a mess and the placement of the tomatoes lead to a lot of shade space that kept some of our plantings from being as productive as we had hoped them to be.


In comes this springs project of building a separate bed altogether. The first step was dropping a couple of maple trees that were shading the new location as I wrote about in a previous post. After that I spent a couple weeks taking a little time every morning before work to cut back the brush around the location of the new bed. Once things were under control I flagged out a couple 2 1/2' x 20' sections and contemplated my next step. 


We had good luck last year building up the depth of the beds to 24" or more and had no issues with the suppressed underbrush growing up through the compost layer.  I chose to roll the dice and forgo the pricey and unnatural layer of weedblocker on this project. Instead I started with overlapping layers of cardboard as a base layer for the construction.


On top of that I started piling up a couple weeks worth of lawn trimmings.


As the layout came together I started sourcing some good lengths of blow down timbers from the surrounding woods, which with a little bit of searching always proves a simple task.  After felling a large rotting birch tree a few hundred yards from the new raised bed site, I did however have to call in a helping hand to maneuver what proved to be a pretty hefty piece of lumber.


As the framework started taking form with timbers and grass clippings I also started included some layers of shredded leaves from an afternoon mowing session along the surrounding forest. This provided ample volumes that made spreading 6-12" of mulch and clippings a pretty easy task.


As the layers increased I added more timbers till I was around 18-24" high.


It took some grunt work but in the end I was pretty happy with the framework and now it was time to uncover the compost bin and see if I had enough left from last year to fill the new bed.


My makeshift winter storage bin worked great for easy access to the black gold as I spent a good portion of the day shoveling it into the wheelbarrow and then spreading it amongst the raised beds. 


With the compost I piled on another 8-12" on top of the base layer of clippings and mulch until I made my way around the U-Bed and had a good base of 18-24" of growing matter in which to plant into !


A few tips on grunt work... having a shovel at each end of the project makes life much easier not having to hold the shovel while pushing the load, its those little things that make a afternoon of lugging load after load a little more manageable. Another trick to the timber frame raised beds is to use pieces of bark to block the inevitable gaps between the timbers keeping the precious compost inside the bed.  Luckily I had ample pieces that I collected while splitting our firewood last fall so I was well prepared to get this project finished to completion ! 


The final length of the beds ended up around 17ft long and I was able to transplant 30 heirloom tomato plants as well as a smattering of basil and marigolds to help ward of some woodland nibblers as I do not have a fence in place at the moment.


With 10 different heirloom varieties Im hoping all goes well and we should have ample tomatoes coming our way this summer as the season of juicy ripe homegrown tomatoes grows closer and closer.

Valencia, Black Prince, Black Krim, Big Beef, Sungolds, Amish Paste, Speckled Roman, Red Zebra, Black Chocolate, Muskovich.


In the next week or two I should have the trellis system Ive been scheming out in my head and on some scraps of paper completed. The goal is to keep things neat and tidy this year and use the old tomato cages from last year for my pepper plants this season ! The plan is to run a center bar down the middle of the two beds and by attaching twine from the center bar to some eye hooks sank into the top outer edge of the timbers. I can then train the vines up the twine and it will create a nice canopy of tomatoes that I can access from the outside and inside edge of the bed. More on that as the tomatoes get used to their new home and I rinse the nutrient drenched soil from my well worked hands. 


Related Posts Plugin for WordPress, Blogger...