
As with all projects, things happen in steps and tackling them as a whole can seem so daunting that its paralyzing to even start... but breaking it down into manageable chunks can bring daily feelings of accomplishment and at the end of the week you can look back at your pictures and revel in the journey it took to get to this feeling of accomplishment. Nature and homesteading has its way of humbling and challenging us. In the frigid months of February during a family dinner Cassi and Hazel talked about how fun it would be to have a beehive again. When we took our first foray into beekeeping it coincided with the news that baby Hazel was on her way, so out of an abundance of caution, Cassi took a backseat to the bee work and I took the reigns. After a challenging couple seasons of learning how to keep a hive happy and well cared for, all the while juggling the new found roles of being parents we took a break from bees after the hive collapsed over the winter. Still having most of the equipment from that time made the decision to reboot a lot easier and over the next month I inventoried our hive supplies and ordered up a package of Italian bees with a marked queen from Backwoods Bee Farm as a Valentines gift to my beautiful wife.

As the days grew warmer and the crocuses began to lift through the soil our bee package arrival date grew closer and closer. We took a family trip to the Honey Exchange in Portland to grab some new frame hardware and a bottom board along with a new hive feeder and a bee veil for Hazel. The rest of the week it was full throttle on bee prep as we constructed the frames, sanded the old boxes, painted the new boards and shined up the copper roof to our old hive. The one BIG project that loomed over the bees arrival was finding the right spot to locate the hive at the homestead. We had the perfect spot that the bees seemed to like in our previous endeavor... the only problem was when we had the giant maples taken down last year we had them pile up the wood right in our clearing that was our bee area.

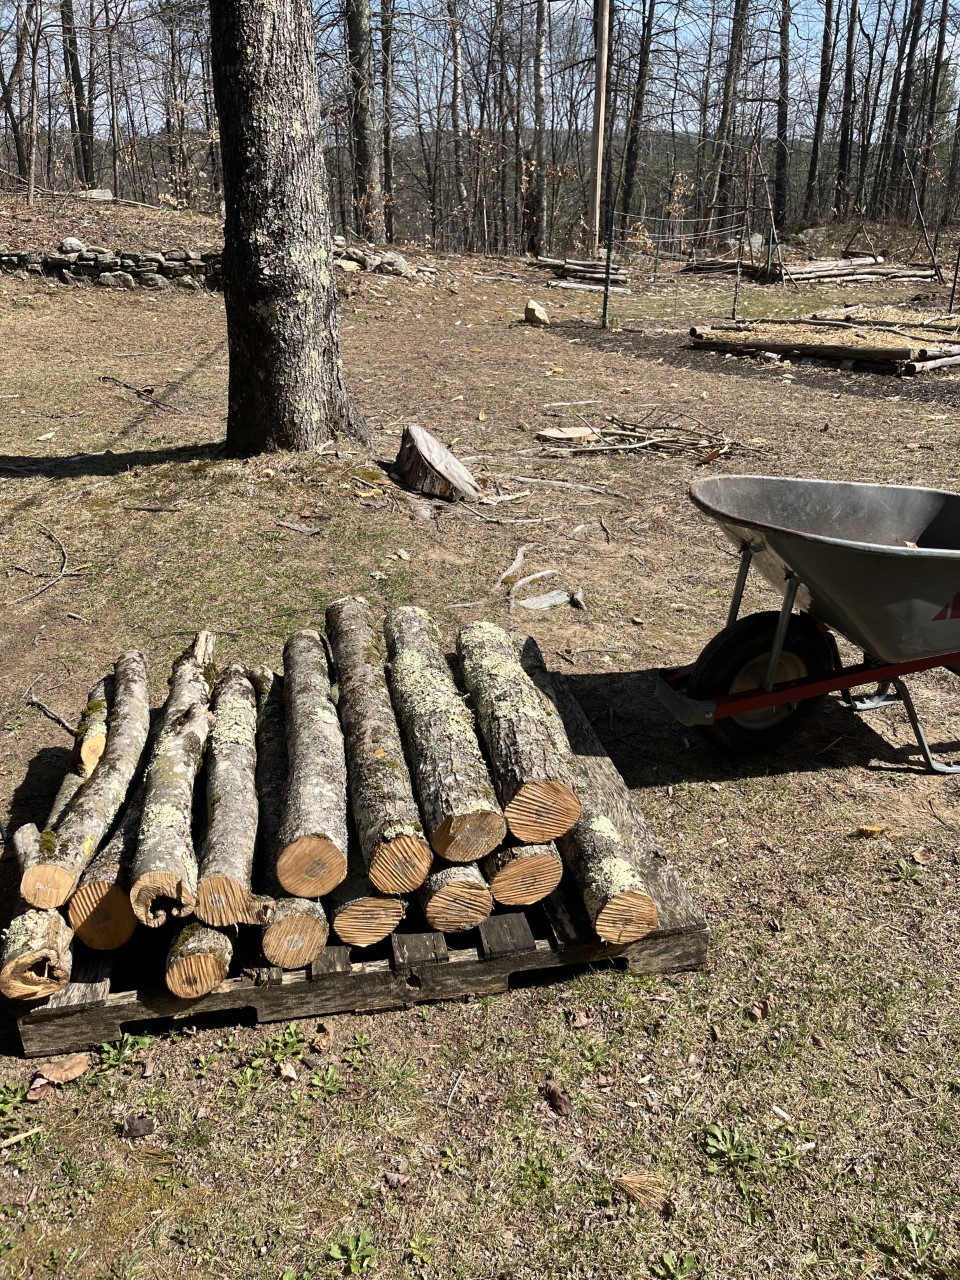
So here is where a daunting task that seemed paralyzing weighed on me... staring at this pile of massive logs stacked 8ft high and 15ft across. Hmmm. What to do, what to do. I first thought if I just cleared a little section for the hive it wouldn't take too much effort but then as I started working on that idea I began thinking about how I probably wouldn't want to be running a chainsaw a few feet away from the beehive, nor do I want to be rolling massive half ton logs around the hive once its established... bring on the impending feelings of doubt and desperation! I started looking for other locations for the soon arriving hive. We do have lots of land, but only a few areas that get full morning sun and most of those spaces are right in our high traffic areas around our garden and our patio area. They didn't seem like good options as you never know what the demeanor of your hive will be and we wanted to have the bees in a space that is easy to monitor from the house but not so close that its gonna get any not-so-bee friendly folks antsy when they come to visit. After a day or two of procrastinating I decided that as long as I could buck up the pile into manageable chunks and get the chainsaw work out of the way, then I could spend the rest of the summer loading the chunks into a wheelbarrow and splitting them at my own leisure. My mind was set and everyday for about a week after I got home from work I spent 2-4 hours getting it done one section at a time. Tackling the edges and end sections of the giant pile and gradually gaining more confidence in my work ethic, chainsaw abilities and overall plan of action. I really got to know my chainsaws limits and quirks through the process and with each cut felt more empowered and enthusiastic about the project. I spent my evenings honing my chainsaw sharpening skills, musing about things I could utilize some of this wood for, besides just firewood. I spent a few late nights researching a new splitting axe to splurge on with all this bucked wood to split. More on the axe selection when I start splitting some wood next week!

Slowly but surely, cut by cut I made my way through the stacks...

One tool I had purchased a few years back to help me with projects like this was the LogOx!
I had used it a handful of times pulling logs out of the woods for our raised beds but navigating my way around these 1000lb+ logs made it indispensable. So many times I thought I hit a road block and was like... how in the world am I going to get this thing into a manageable position to be able to buck it up, and after getting creative with the LogOx I was like damn, I did it! Its made in the USA and for a homesteader on a wooded lot, I would highly recommend it. The price of it seems to have doubled since when I originally purchased it years ago but hasn't everything! Even at the current price I would highly recommend it for anyone doing solo tree work on a somewhat regular basis. It truly is like having an extra set of hands and gives a ton of leverage and control over trunks that I didn't think I could ever maneuver through!

Its also great for keeping your chainsaw out of the dirt during the bucking process as well!

Progressing along nicely and I even took a moment to swing the axe a few times after another long afternoon on the chainsaw.

This trusty lil hatchet was another resourceful tool for cleaning up some messy spots here and there.
I have really been inspired by some of the high quality tools I have slowly acquired over the years. Its amazing how much a good handmade tool can make a project more enjoyable.

When the sun went down the projects moved into the cellar where we methodically constructed the hive frames and wired in the beeswax foundations that the hive will build their comb on. Its a bit of a tedious job applying glue to all the lil connections then hammering all those tiny nails in but with a cold beverage and some good tunes we made quick work of it and finished up the hive with a couple coats of exterior paint just in time for bee pick up day to arrive!


Our 3lb package of Italian Bees were picked up from Georgia on Thursday, driven to Maine on Friday and we got them to their new home on Saturday afternoon! Cassi and Hazel were excited to suit up and show our 10,000 new friends where they will be staying now!

Here is our queen with a few attendants alongside. In a 3lb package they take bees from a thriving hive and place a new queen in the package with them. It takes them a couple days of getting to know one another before the hive will accept the queen and to protect her they put her in the small box inside of the package so they can become acquainted. Our job is to remove the cork on the candy side of the cage where there is a marshmallow blocking the exit. Over the next couple days the queen and her attendants will chew their way out and hopefully the hive will embrace her as their Queen and the magic of a beehive will begin !

Once the Queen is securely placed in the hive, you simply shake the others out of the package into the hive as Cassi is so gracefully doing here, then you gently ease your remaining frames into the box, being very careful not to squish many bees in the process. Cassi then secured the lid and placed a feeder solution of sugar water inside another empty deep box on top. That will nourish them until more food is available and they get their bearings around our homestead and abroad!

The mostly empty package is set down in front of the hive so the stragglers can find their way in before nightfall.

The area was buzzing with energy as they spread their wings to navigate the new surroundings, take a cleansing flight and then hopefully concentrate their efforts on building up some comb for the queen to start laying a new brood .

Just as dusk settled in the package was empty and the hive was huddled up staying warm in their new climate here in Maine'.

I did find this straggler on the wood pile and I told him not to stay out too late before heading in for the evening!

What a lovely weekend, maybe a lil too hot to fast but all the bulbs are happy to soak it in after being covered in a good snow pack most of the winter! Everyday everyone is peeking out to check for new shapes and colors of the marathon bulb planting that happened after Thanksgiving! So far I'm seeing lots of success and the added beauty to the muddy terrain has spring fever sweeping the homestead!

Long Cup aka Trumpet Daffodils

White Hyacinth
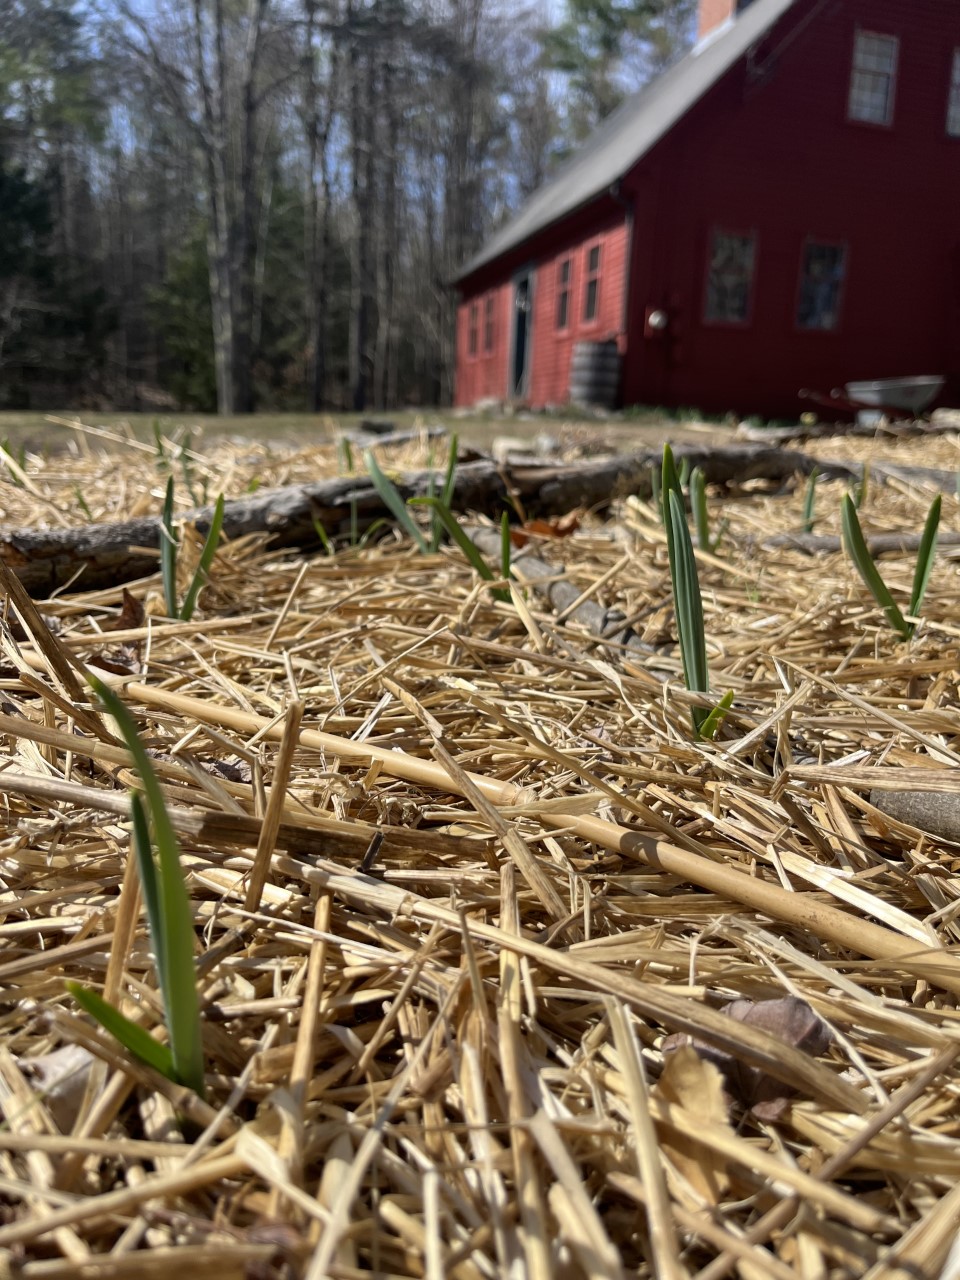
And of course Garlic, always an early showoff in the garden along with the chives!
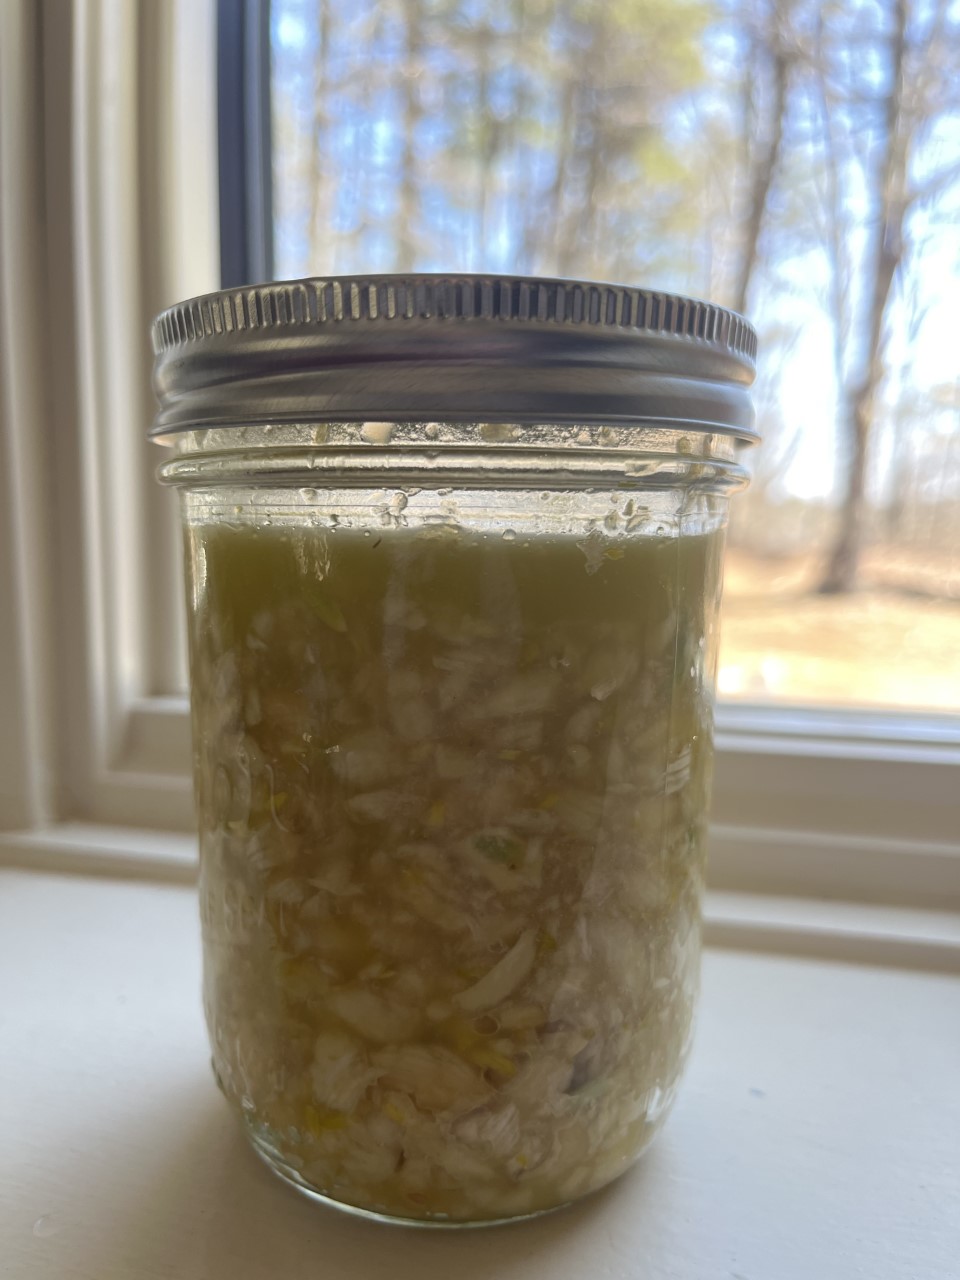
Seeing the garlic sprouting up made me assess our current kitchen supply and with a good amount left from last years harvest and a bit of sprouting beginning I decided to take a moment, peel it all and chop it up with some sea salt and olive oil. This should hold us over a month or so until the scapes start forming!
As this sunny summerlike weekend wraps up and all the bees get settled we look forward to some other projects on the horizon for the week ahead. I dropped a few small sugar maples while the chainsaw was sharp and cut them into 3ft sections in preparation for some more mushroom experiments! The grain jars from last post are colonizing wonderfully, more liquid cultures have arrived and some other fungal experiments are going down so stay tuned for a new mushroom geek post coming soon... Along with that its go time for starting seeds and our germination station is prepped and ready for sprouting!

Till next post...

No comments:
Post a Comment